Crispy Fried Chicken Tenders
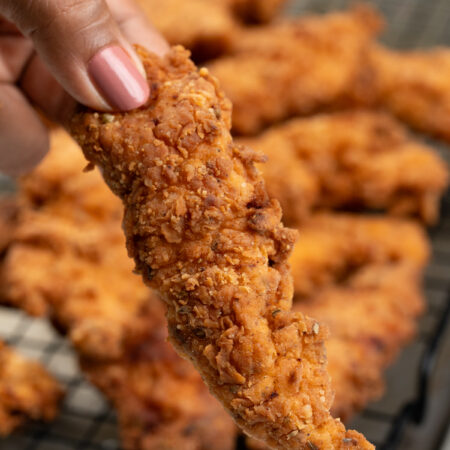
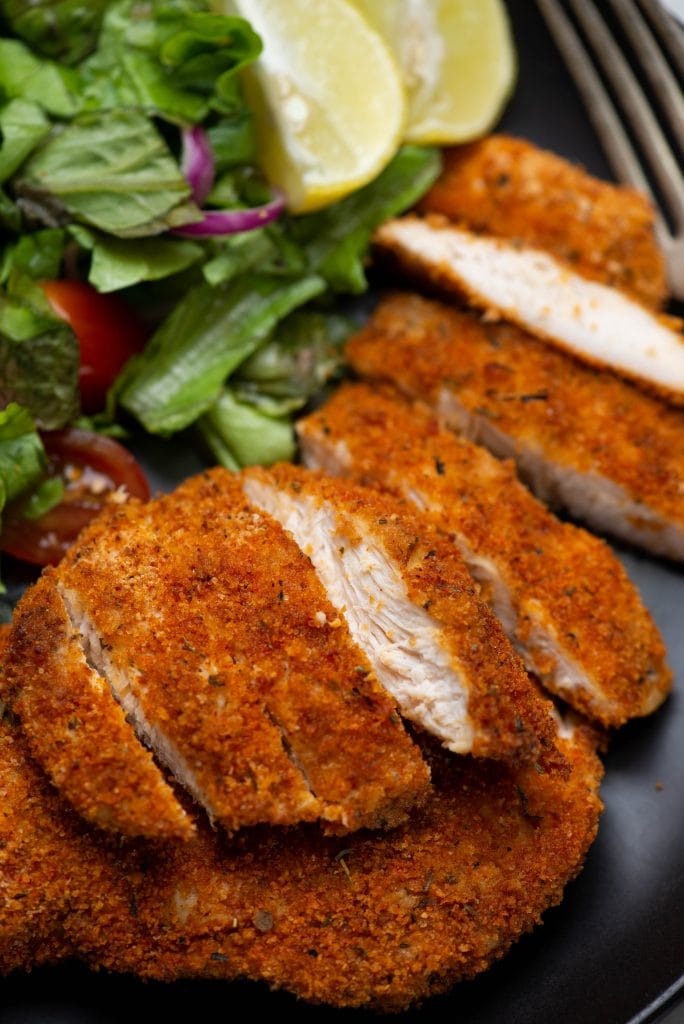
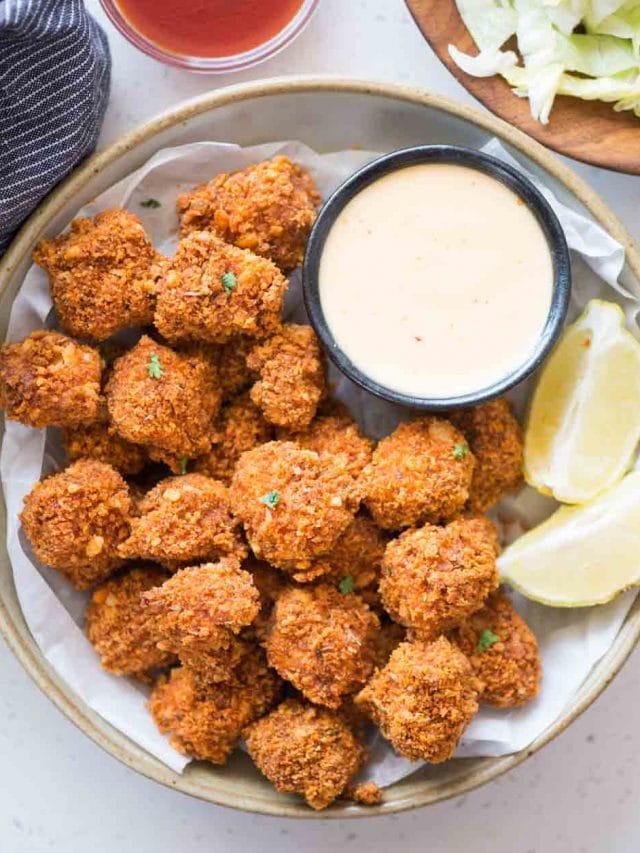
These crispy chicken tenders are the result of multiple trials and errors. The version I am sharing here is perfectly seasoned juicy chicken tenders with a crunchy coating on the outside, thanks to the breading flour mix.
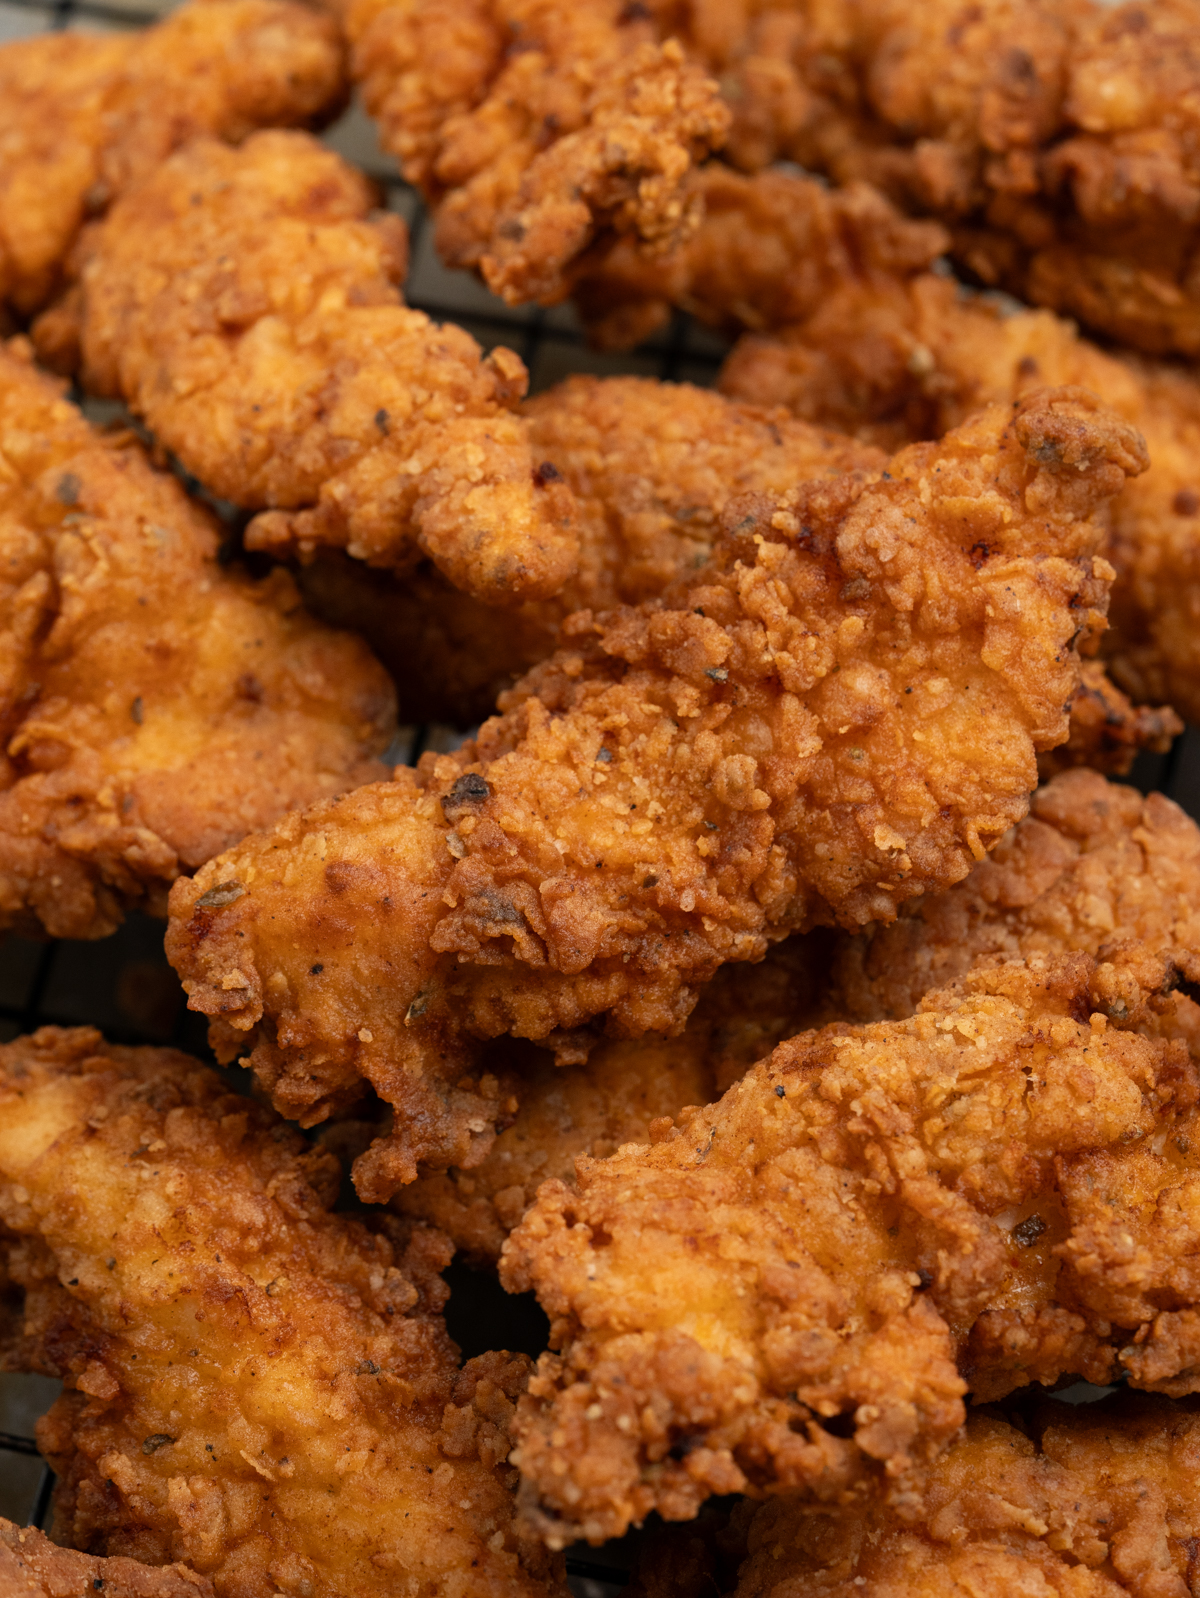
Crispy fried chicken tenders are always a crowd-pleaser. What I am talking about is moist, seasoned chicken tenderloins with crispy, perfect (not too thick) breading. Fried chicken is not something we often make at home, instead, I prefer its healthier alternatives like Baked Cornflakes Chicken, Crispy baked chicken tenders, Baked chicken nuggets. But whenever we do indulge, this is my go to recipe – Buttermilk marinade + Easy flour coating(no messy dedging).
This recipe stands out because
I have tested quite a few recipes and finally came up with this which works the best both with respect to taste and crunch.
- I never liked the conventional dredging process ( flour -> egg wash -> flour). The coating always turns thick, and lumpy and doesn’t cook well at places. And not to mention the mess the entire process creates. This recipe has just 2 steps – Buttermilk marinade then coat chicken in a dry mixture.
- The acid in buttermilk tenderizes the chicken, keeping it moist and juicy after cooking.
- Perfectly seasoned inside out. The buttermilk marinade is seasoned first, so the chicken soaks up the flavor. Then the dry flour coating is again mildly seasoned.
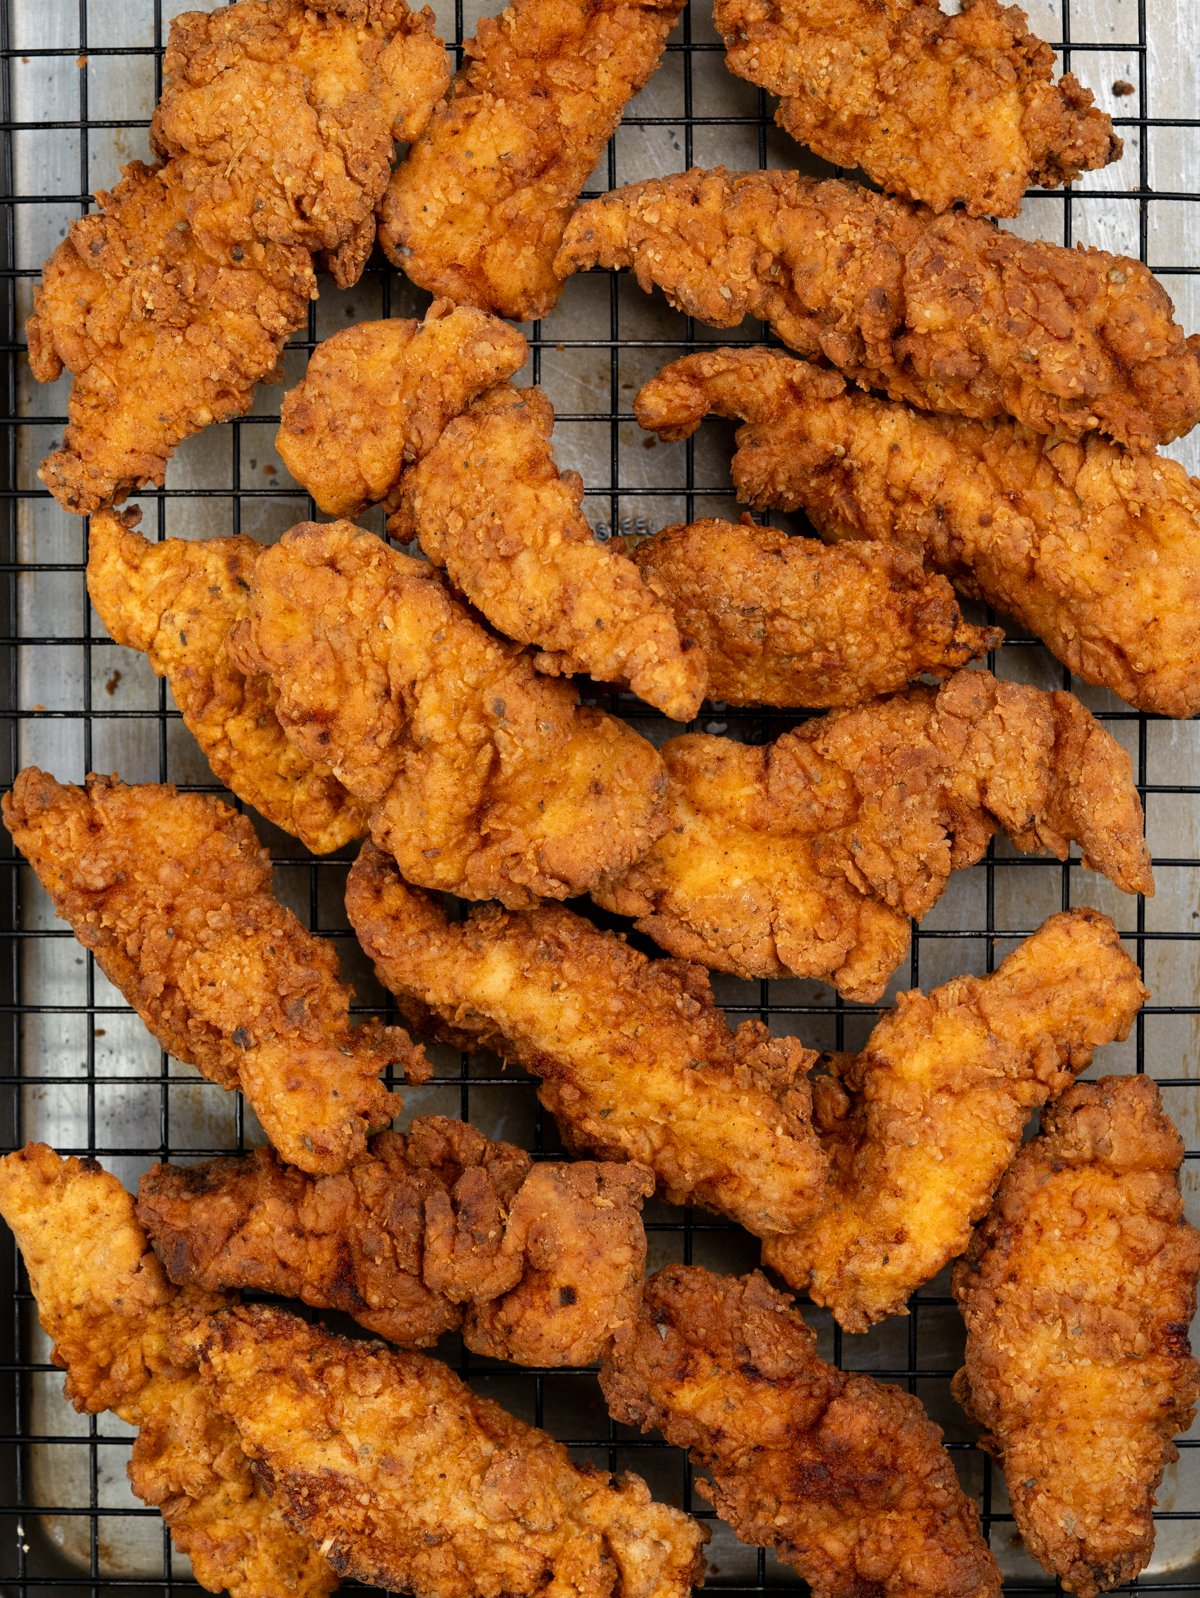
The secret behind the perfect crunch
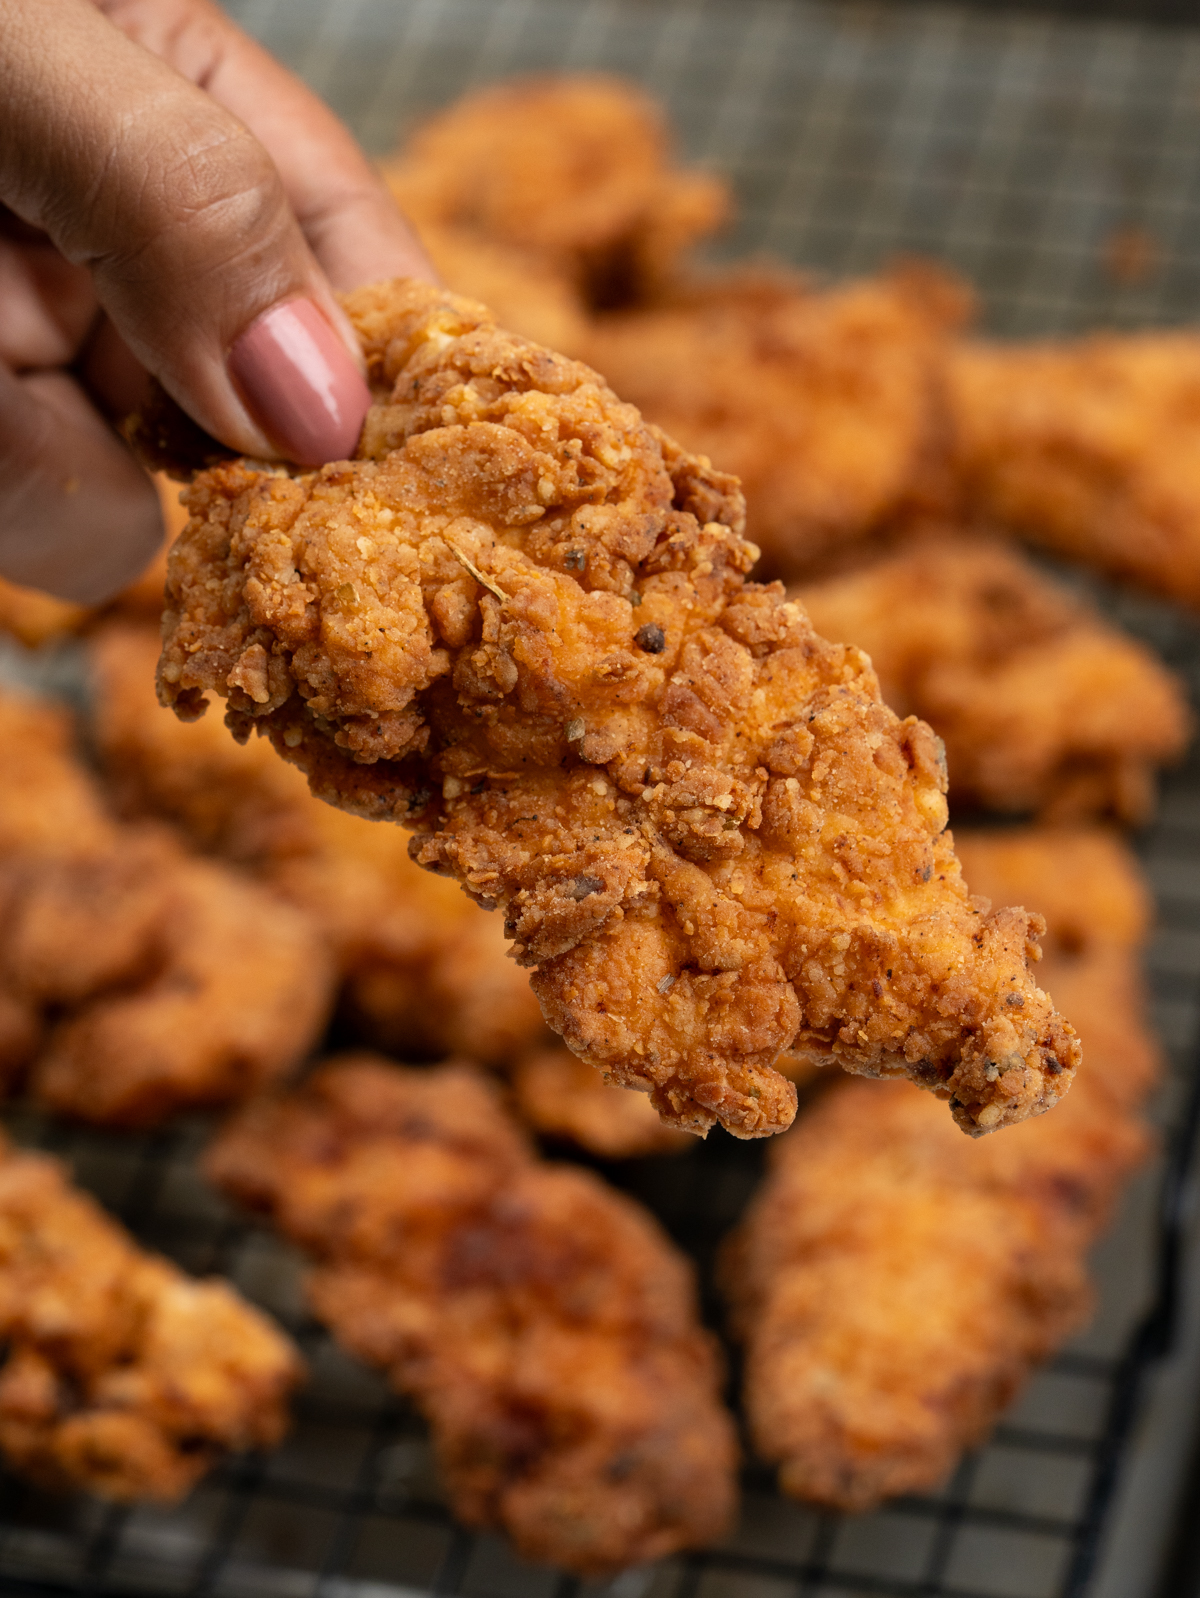
- There are so many ways you can make the breading. What worked for me is the combination of Flour + Cornstarch + Baking Powder. Cornstarch is not only used for thickening soups and gravies, when added to the flour it also helps to give crispiness to deep-fried stuff. Baking powder is another ingredient that aerates the breading creating tiny air bubbles and giving that airy feather-like texture to fried chicken.
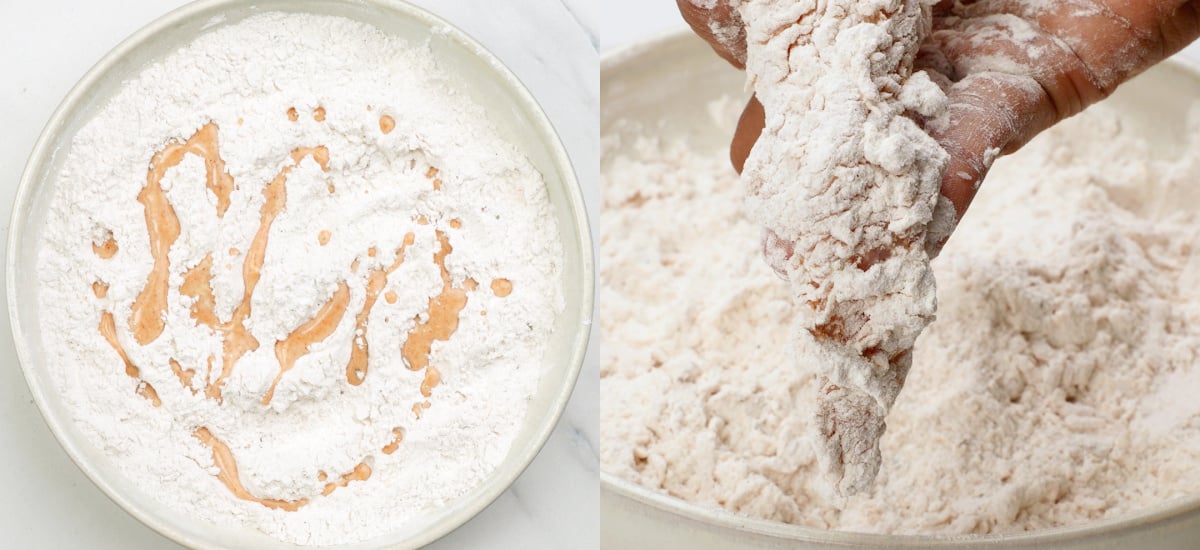
- I always used to wonder how does KFC fried chicken has that feather-like coating (also called as craggily bits). Sprinkle some of the buttermilk marinade to the dry mixture and rub to get small crumbs. These crumbs give the chicken a unique texture.
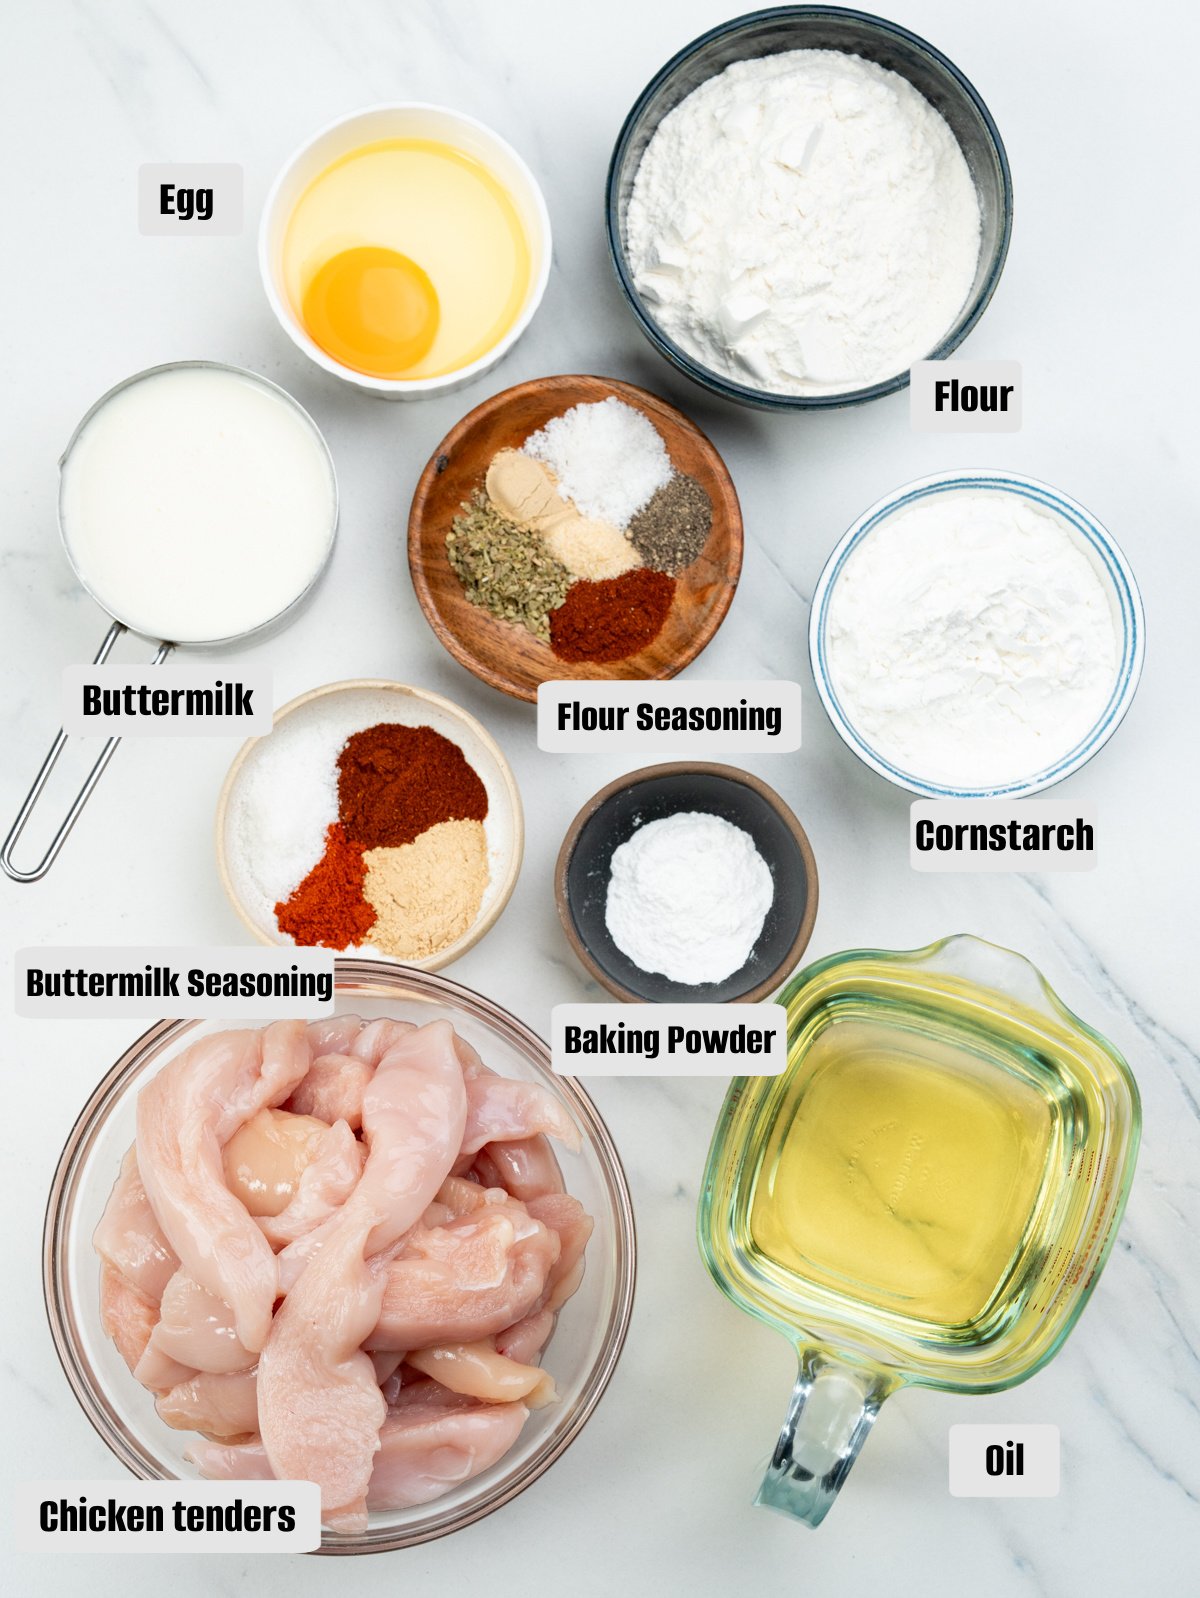
Ingredients you need
- Chicken Tender- Chicken tender are a special cut underneath chicken breast. This is the most tender part of the chicken. Ask your local butcher for the cut. Or you can also use boneless chicken breast cut into stirps.
- Buttermilk – If you don’t have buttermilk, dilute yougurt with some milk and water to get consistency of buttermilk and use.
- Egg – Beaten.
- To season Buttermilk – Garlic powder, paprika, cayenne pepper and salt. You can also skip the seasoning mix and add a good dash of hot sauce.
- Flour- All purpose flour.
- Cornstarch– To make the breading extra crunhy.
- Baking powder- Baking powder ( not baking soda)
- Flour seasoning mix- Garlic powder, onion powder, paparika, oregano, salt and pepper.
Step by step – How to make
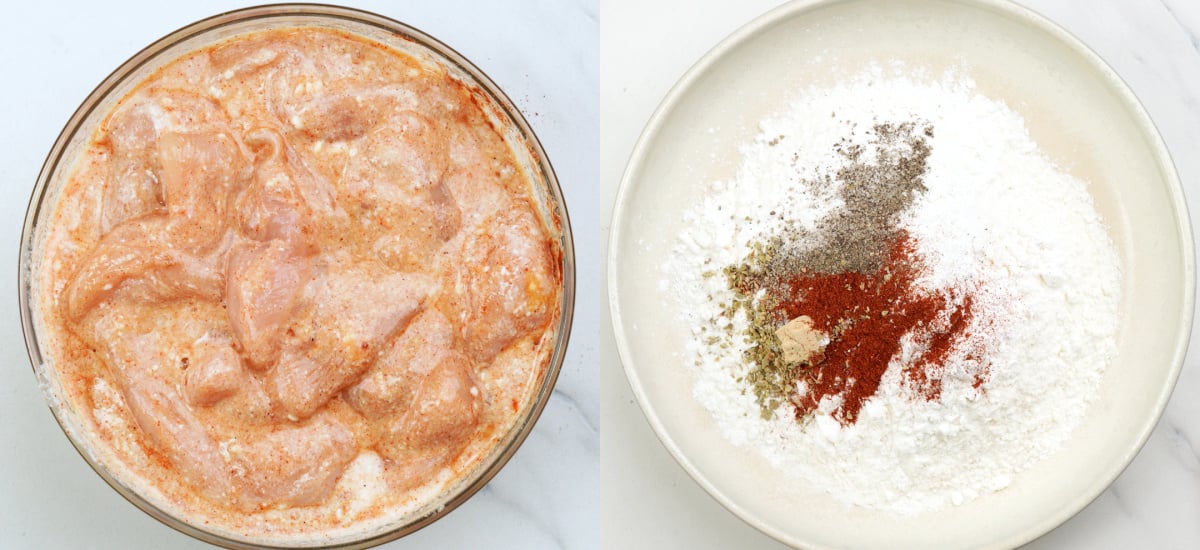
- Add buttermilk, egg, seasoning blend to chicken tender, mix well and let it rest for 30 minutes at room temperature. Refregirate if you are planing to rest it more than 30 minutes.
- Make the dry mix by adding all the ingredients.
- Just before frying, add 2-3 tablespoons of the buttermilk marinade to the dry mix and rub with you hand to creat small crumbs.
- Using a tong pick one tender at a time, shake off extra marinade and place 2-3 chicken pieces on the flour. To avoid getting you hand dirty – first sprinkle some dry mix all over the chicken using a spoon, then use hand to press the mix against chicken to coat evenly.
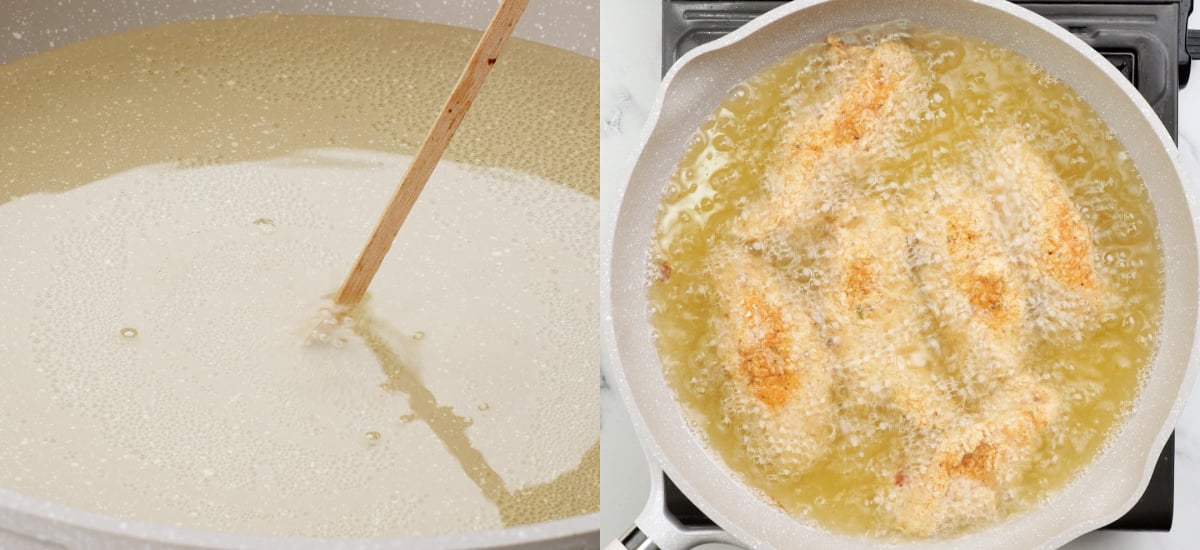
- Use a medium pan or a sauce pan. Add oil atleast 2-inch deep. Trick to check if the oil reached the right temperature for frying, insert a bamboo skewer or chopstick. If you see tiny bubbles forming around it, its ready for frying.
- Add 4-5 coated chicken tenders at time, without overcrowding the pan. Let it cook for 3-4 minutes, flip and cook for antother 2-3 minutes. Carefully take out the tenders out of the pan, shake off extra oil and keep aside. Repeat with the rest of the chicken.
Recipe Tips
- Because of of the acidic nature of buttermilk, you dont need longer marination. Minimum 30-minutes is enough. Avoid marinating more than 24 hours as the chicken will breakdown and the texture will not be the same.
- If you are refrigirating the chicken, make sure you bring it close to the room temperature before frying. If the chicken is cold, it might not cook evenly.
- After you coat chicken with the dry flour mix, don’t rest it for long time. While testing the recipe, I noticed after coating chicken with dry flour coating if you keep it for longer, the fried chicken doesnt turn as cripsy. So here is what I do, I coat only 4-5 tender at a time that will fit in the pan for one batch, fry them. Then coat next batch of chicken.
- Before adding chicken to hot oil, make sure you shake off as much dry flour as possible, otherwise the excess flour will make the oil dirty.
- While adding the chicken tenders to the oil, keep the temperature medium-high. Becuase when you add chicken to oil, the temperature of oil drops, so it is important to maintain heat. one minute After adding the chicken you may reduce the heat to medium and let the chicken cook.
- After you take out the chicken , keep them on a cooling rack while you fry rest of the batches.
- Before you fry the next batch, let the oil heat well.
Frequently Asked Question( Troubleshooting)
If you have refrigirated the marinated chicken, then bring it close to room temperature before frying, otherwise the chicken might stay undercooked or unevenly cooked while the crust gets perfect color. Another reason could be, when you put chicken to the oil, Oil was too hot and the outer coating browned too quick while the chicken is still undercooked.
Chicken tenders go by its name. It is the tender most part of chicken and deosn’t take long to cook. By marinating it in buttermilk, we are avoiding the chicken getting dry, yet if it is cooked longer, then it tend to dry.
Once a batch of chicken are out of the oil, place it on a wired rack while you fry rest of the batches. If you are making a big batch of chicken tenders, keep fried chicken tender on a wired rack and keep it in oven with (warm mode on).
Yes, chicken thigh will also work for the recipe.
Storing
Fried chicken tenders tend to loos its cripsyness overtime, as the chicken once cooked looses moisture making the crust soggy. Leftovers can be stored upto 3 days in refrigirator. Though the taste will not change, it won’t be crispy anymore.
Best way to reheat is to put them in an airfryer and cook it for 2-3 minutes @200 C. Note – Chicken might dry out a little bit upon reheating.
Serving
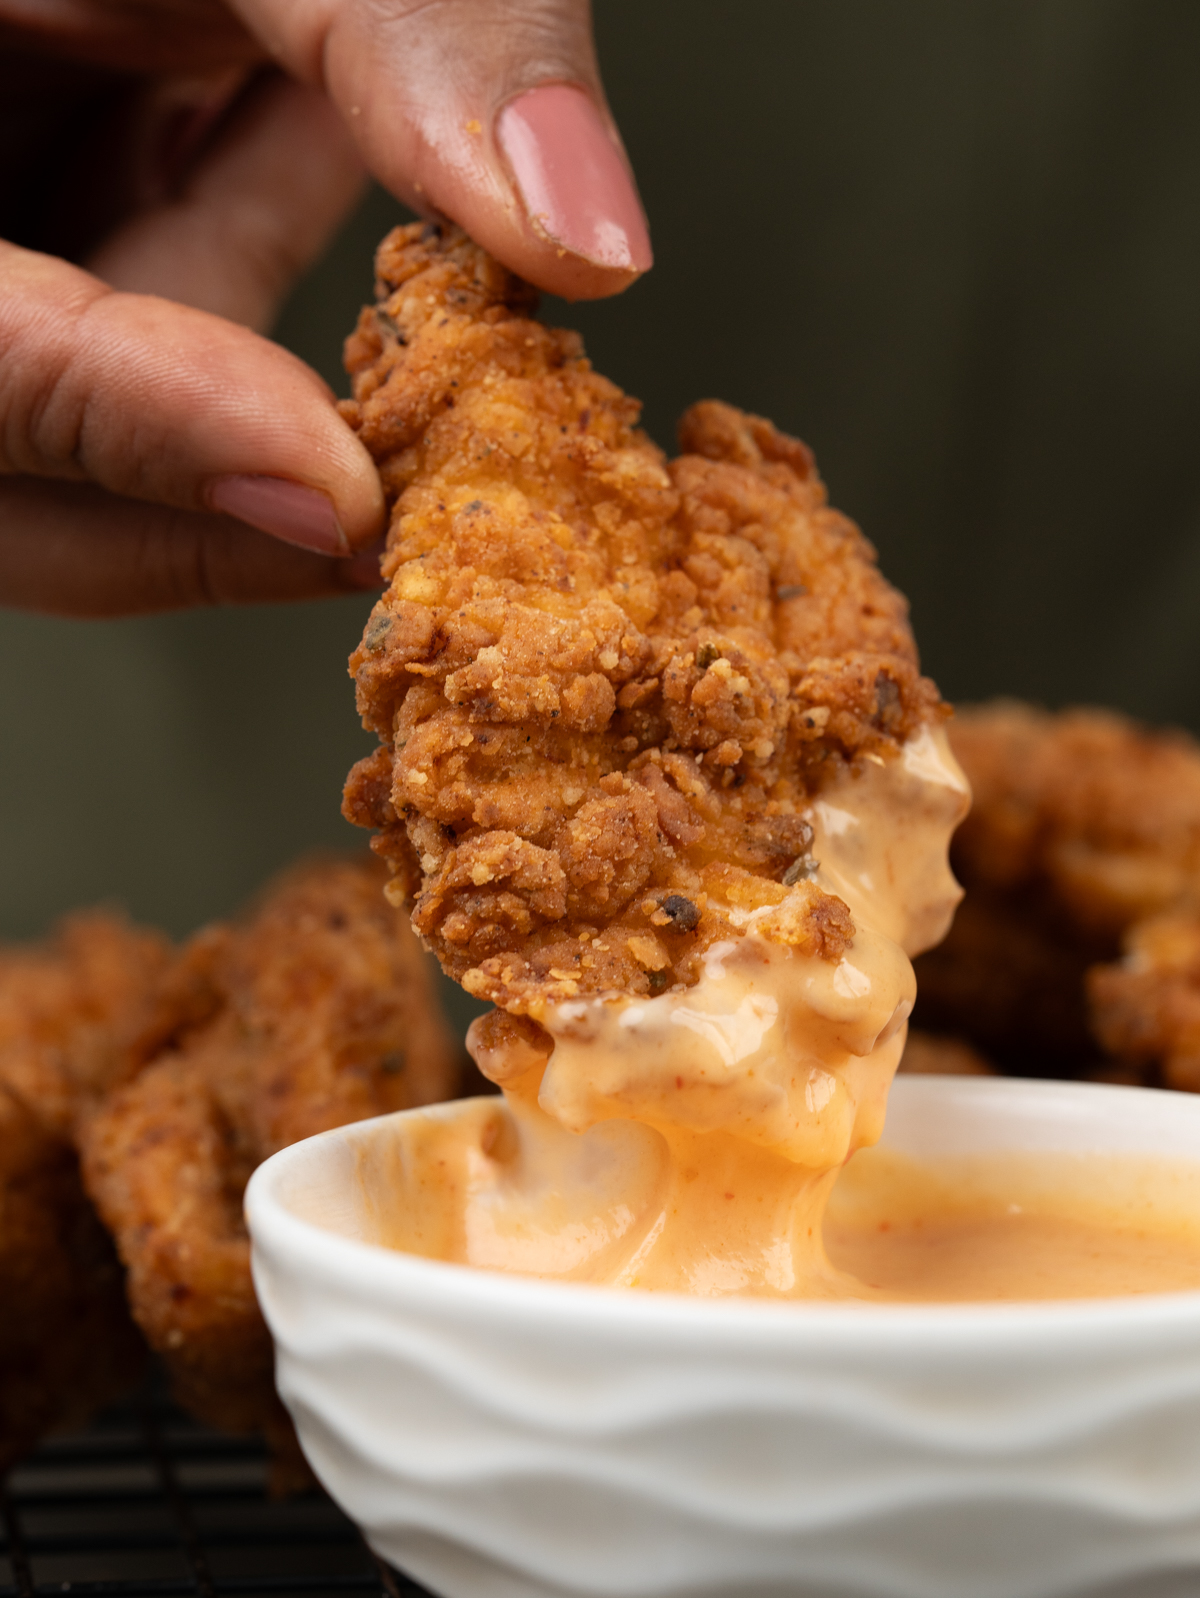
I usually sprinkle some Old Bay Seasoning and serve it with a quick honey-mustard-mayo dipping or ranch dip. And then off course there will be chilled beer on the side.
More Crispy Chicken recipes for you

Crunchy Fried Chicken Tenders
Ingredients
For Marinating Chicken
- 1 kg Chicken Tenders (2 pounds)Or Chicken Breast cut into strips
- ½ teaspoon Garlic Powder
- 1 teaspoon Paprika
- ¼ teaspoon Cayenne pepper
- ½ teaspoon Salt
- ¾ cup Buttermilk
For Flour mixture
- 1 cup Flour
- ½ cup Cornflour
- 1.5 teaspoon Baking Powder
- ¾ teaspoon Garlic Powder
- ½ teaspoon Onion Powder
- ¾ teaspoon Paprika
- 1 teaspoon Dried Oregano
- 1 teaspoon Salt
- ½ teaspoon Black pepper
- Salt to taste
Other Ingredients
- 2-3 cups Oil for shallow Frying
Instructions
- Mix all the ingredients mentioned under marination. Cover and let it rest for at least 30 mins at room temperature or up to 4-5 hours in refrigerator.
- If the Chicken is refrigerated , Take it out before frying and allow it to thaw close to room temperature.
- Make the dry coating by adding all the ingredients. Add 2-3 tablespoons of buttermilk marinade to the flour mix and rub to create small crumb like texture.
- Heat oil in a pan. Make sure the oil is at least 2- 2.5 inch height.
- While the oil is heating, start coating the marinated chicken strips in batches ( 4-5 at a time or as much the pan can hold).
- Shake off excess wet marinade from chicken, place on the flour mix 1 or 2 pieces at a time. Spoon dry flour mix all over the chicken( once the chicken is covered with dry flour your hand will get messy). With hand press chicken against flour to coat it evenly. Shake off excess flour and keep aside.
- Once you are done with coating 4-5 chicken strips, gently add chicken one by one spaced little apart. While adding the chicken keep the flame medium-high. After all the chicken is in oil, reduce flame to medium-low.
- Let it cook undisturbed for 3-4 minutes. Flip and cook again for 2-3 minutes.
- Drain and place it on a wired rack while you are frying the next batch.
- In between the batches let the oil heat well again.
- Serve fried chicken tender with favourite dip and chilled beer.
- (I have shared lots of tips and troubleshooting above in the post, for best result do give it a glance).
Video
Notes
- After you coat chicken with the dry flour mix, don’t rest it for long time. While testing the recipe, I noticed after coating chicken with dry flour coating if you keep it for longer, the fried chicken doesnt turn as cripsy. So here is what I do, I coat only 4-5 tender at a time that will fit in the pan for one batch, fry them. Then coat next batch of chicken.


I tried it. The texture was great. I was so pleased to get a light, crispy breading instead of a clunky, bulky hard breading I am used to getting with pure white flour. This is a much more desirable type of breading. It is getting close to one I have had in a restaurant, where the breading is very thin, and the chicken is very moist and delicate. Great recipe.
Happy that you tried and loved it, Douglas. Thank you !